In the world of cryptocurrency, protecting your digital assets is just as important as acquiring them. Unlike traditional banking, crypto doesn’t rely on a central authority to safeguard your funds. Instead, you — and only you — control access. This means securing your private keys is paramount. One of the most secure ways to do that is by using a hardware wallet. And if you’ve just purchased a Trezor hardware wallet, the first step you’ll take is visiting Trezor.io/Start — the official setup portal that guides you through initializing and securing your device.
Trezor.io/Start is the official onboarding and setup page designed by SatoshiLabs, the creators of Trezor hardware wallets. Whether you own a Trezor Model One, Model T, or one of the newer devices, this secure page walks you through the entire setup process — from downloading the necessary software to creating your wallet and safeguarding your recovery seed.
This page is not just a download link — it’s a security checkpoint. Visiting the correct URL (https://trezor.io/start) ensures you aren’t falling prey to phishing scams or fake setup sites that can steal your credentials or private keys. Always double‑check the web address and the HTTPS lock icon in your browser before proceeding.
Hardware wallets like Trezor generate and store your crypto private keys offline — away from internet‑connected devices where malware and hackers lurk. By starting at the official Trezor setup page, you ensure that your device is configured securely and correctly.
Here are key reasons to use Trezor.io/Start:
To successfully set up your Trezor wallet using Trezor.io/Start, prepare the following:
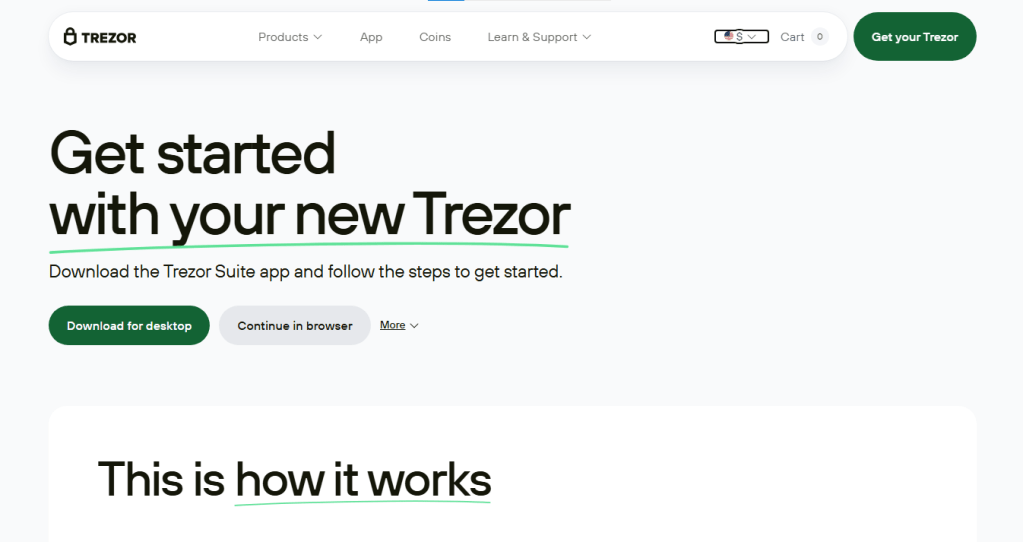
Open your browser and navigate to https://trezor.io/start. Make sure the address is correct — scams often mimic this URL with slight misspellings or extra characters.
From the start page, download Trezor Suite, the official desktop application for managing your wallet. Choose the version that matches your operating system (Windows, macOS, or Linux).
Trezor Suite is where you’ll manage your crypto assets — sending, receiving, tracking balances, and installing firmware updates — all while keeping your keys stored safely in the Trezor device.
Plug your Trezor hardware wallet into your computer using the USB cable. Trezor Suite will automatically detect your device. If prompted, allow the software to communicate with your wallet.
If your device is new or has outdated firmware, Trezor Suite will prompt you to install the latest version. Firmware is digitally signed and verified, ensuring that you’re running authentic, secure code. Always install firmware from the official interface — never from third‑party sources.
You’ll now have two options:
When creating a new wallet, your Trezor will display a recovery seed — usually 12 or 24 random words. Write them down on paper or a seed card. This phrase is the only backup of your wallet. If your device is lost or damaged, this seed is the only way to recover your funds.
Important: Never photograph, screenshot, type, or store your seed digitally — doing so exposes it to hackers.
Choose a secure PIN to protect your wallet. This PIN will be required whenever you connect your Trezor. Don’t share it with anyone.
After the basics are complete, you can enable additional protections such as a passphrase (an additional word that acts like an extra password) or Shamir Backup (splitting the seed into multiple parts).
Once setup is finished, you can open Trezor Suite to:
Always verify receiving addresses and transaction details on your physical Trezor device screen before confirming — this protects against malware tampering.